
Earlier than we launched the WordPress staging characteristic earlier this yr, customers wanted to create their very own staging surroundings for web site testing. Doing so required putting in plugins and even contacting buyer success specialists for assist.
This made creating staging environments fairly difficult, to not point out time-consuming.
Now, with the WordPress staging characteristic, customers can create a staging surroundings straight from their hPanel, with out trouble.
Since there’s extra to it, let’s check out the advantages of this new characteristic and, most significantly, learn how to use the WordPress staging device.
Why Ought to You Use WordPress Staging?
WordPress staging means that you can take a look at modifications made with out affecting the stay web site. For example, you may safely modify themes and take a look at plugins on the staging surroundings. If one thing goes mistaken, your web site won’t be affected.
WordPress staging additionally helps you uncover bugs or important points earlier than the location goes stay, making certain higher performance and person expertise.
Utilizing the WordPress staging device out there in your hPanel, you now not want to put in third-party plugins to create staging environments. The method of making the staging environments is totally automated – it solely requires just a few clicks.
Nonetheless, the WordPress staging characteristic is simply out there for particular internet hosting plans:
- Enterprise Shared Internet hosting
- Cloud Internet hosting
- Enterprise WordPress Internet hosting
- WordPress Professional Internet hosting
In case you run a web site utilizing the Single or Premium Shared Internet hosting plans, you’ll nonetheless must create a WordPress staging surroundings manually. Alternatively, you should use plugins like WP Staging.
When you create a staging surroundings, the WordPress staging device will create a subdomain that incorporates a replica of the manufacturing web site.
The manufacturing and staging web sites aren’t related, so it’s protected to make modifications whereas within the staging surroundings.
Making a staging surroundings with the WordPress staging device could be very straightforward and will be achieved proper out of your hPanel. Let’s see learn how to do it step-by-step:
- Log in to your Hostinger account to entry hPanel.
- Navigate to WordPress -> Staging.
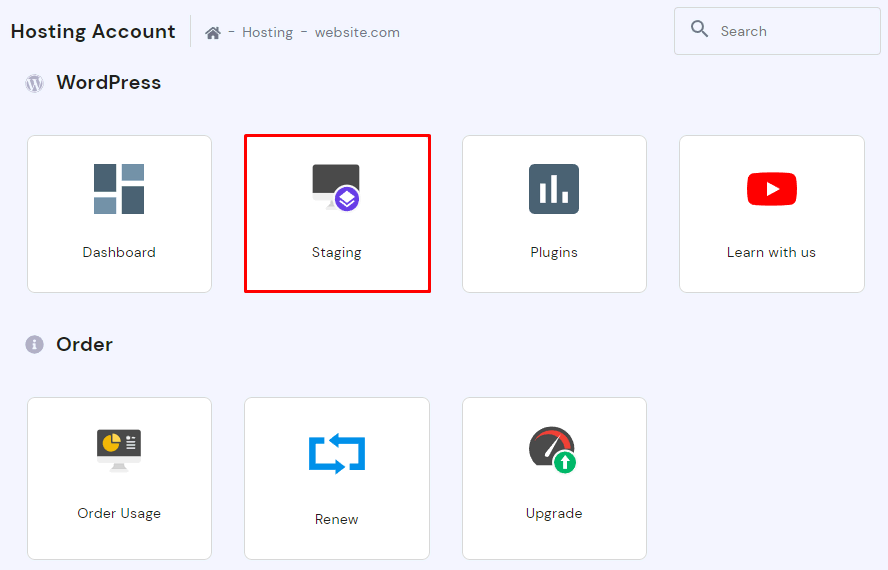
- Within the Staging tab, click on Create staging.

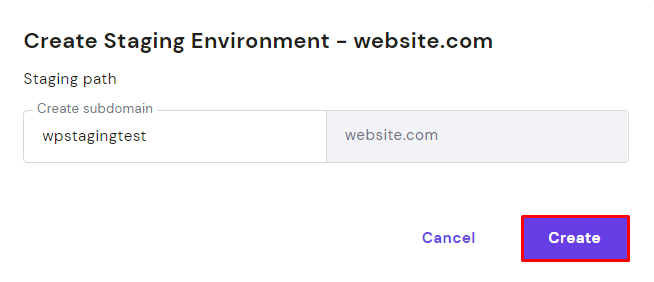
- A pop-up window will seem. Fill within the required fields to create a subdomain for the staging surroundings and hit Create.
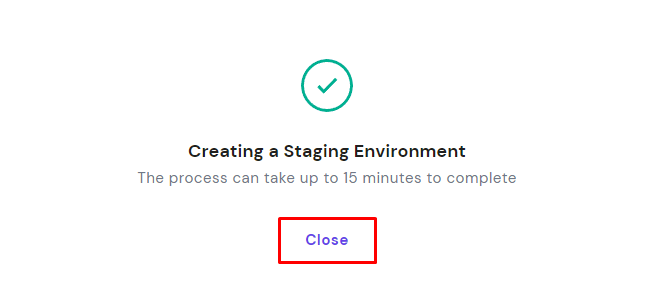
- Relying on the scale of your manufacturing web site, the staging surroundings creation could take as much as quarter-hour. As soon as the method is full, click on Shut to dismiss the affirmation message.
It’s that easy! Now, to make use of the staging surroundings, click on Handle staging subsequent to the specified staging web site.
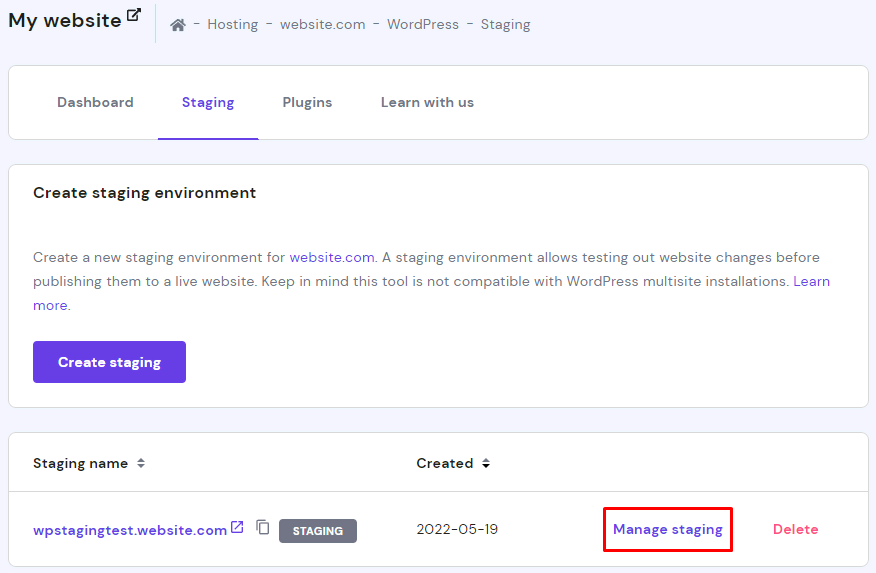
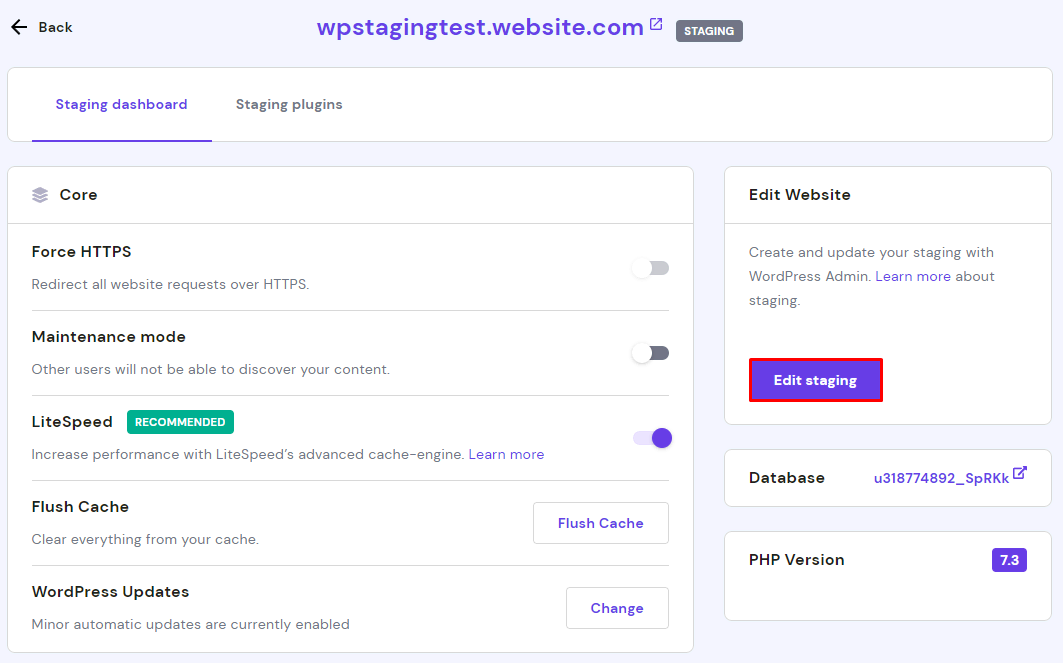
On the staging dashboard, entry the WordPress admin space by clicking Edit staging.
You can begin making modifications to your posts, pages, plugins, and themes. As soon as you’re proud of the modifications, apply them to the manufacturing web site and publish.